I turned 35 last year in a guesthouse in Spiti Valley, eating dal from a steel plate, listening to the wind come off the Himalayan plateau, and thinking: this is the best birthday I have ever had. There were no balloons, no restaurant booking, no organised celebration. Just a view that made everything else feel small.
I have been travelling around India and occasionally beyond it since I was 22. Some trips were planned down to the last train booking. Others happened because a plan fell apart and I had to improvise. The ones I remember most vividly are not the expensive ones or the comfortable ones. They are the ones where something shifted — where I came back slightly different from how I left.
This is my list. Not a generic travel checklist. These are ten experiences I have done myself, or watched close friends do, that genuinely changed something. They are written for an Indian reader — with Indian budgets, Indian context, and the specific kind of travel that is accessible from here.
1. A Long Train Journey Alone — Anywhere in India
I do not mean a two-hour train ride. I mean an overnight or two-night journey: the Himsagar Express from Jammu to Kanyakumari, the Vivek Express from Dibrugarh to Kanyakumari, or even the Rajdhani from Delhi to Mumbai if you stay away from your phone and actually look out the window.
There is something about a long train journey that no flight can replicate. You watch the landscape change for hours — from Punjab’s flat fields to Rajasthan’s ochre earth to the sudden green of the Western Ghats. You share a compartment with strangers who become temporary family. Someone’s mother offers you food. Someone’s grandfather tells you about the train route he first took in 1971. The chai boy comes every forty minutes. The lights of small towns flicker past at midnight.
I took the overnight train from Jaisalmer to Jodhpur alone at age 26 and spent most of the journey talking to a retired schoolteacher from Barmer who had lived his entire life within 200 kilometres of where we were sitting. He knew the name of every town the train passed through and a story attached to each one. I have forgotten many things from that trip. I have not forgotten him.
Indian budget tip: Sleeper class on long-distance trains costs Rs. 200-600 for overnight journeys. Book 60 days in advance on the IRCTC app. Take a window seat in an upper berth — the view at dawn is worth the inconvenience of climbing up.
2. Trekking to a High-Altitude Temple or Pass
I am not talking about being dropped at Vaishno Devi by pony. I mean walking under your own effort to somewhere that requires your body to earn the view.
Kedarnath at 3,583 metres. Roopkund at 5,029 metres. Triund above McLeod Ganj. The Hampta Pass crossing from Manali to Lahaul. These are all accessible to anyone with reasonable fitness, proper preparation, and the willingness to be uncomfortable for a few days.
I reached Kedarnath at 5:30 in the morning in early June, having walked through most of the night with a headlamp and a thermos of chai that went cold somewhere around the 12 kilometre mark. The temple was lit by a single string of lights against a completely black sky. The temperature was around 4 degrees. There were maybe forty people there at that hour — pilgrims who had walked through the night, a few sadhus who seemed unbothered by the cold, priests preparing for the morning aarti.
I am not a particularly religious person. But standing at that altitude in that silence, having physically earned my way there, something about the experience goes beyond religion entirely. The effort is the point. The altitude changes your thinking in ways that are hard to explain and easy to remember.
Indian budget tip: First-time trekkers: Start with Triund (15 km return, 2,842 metres, Rs. 0 entry fee). Build to Kedarnath (18 km one way, manageable in two days with a night at Linchauli). Invest in proper trekking shoes before anything else — rented shoes from the base camp are the main source of injury and misery.
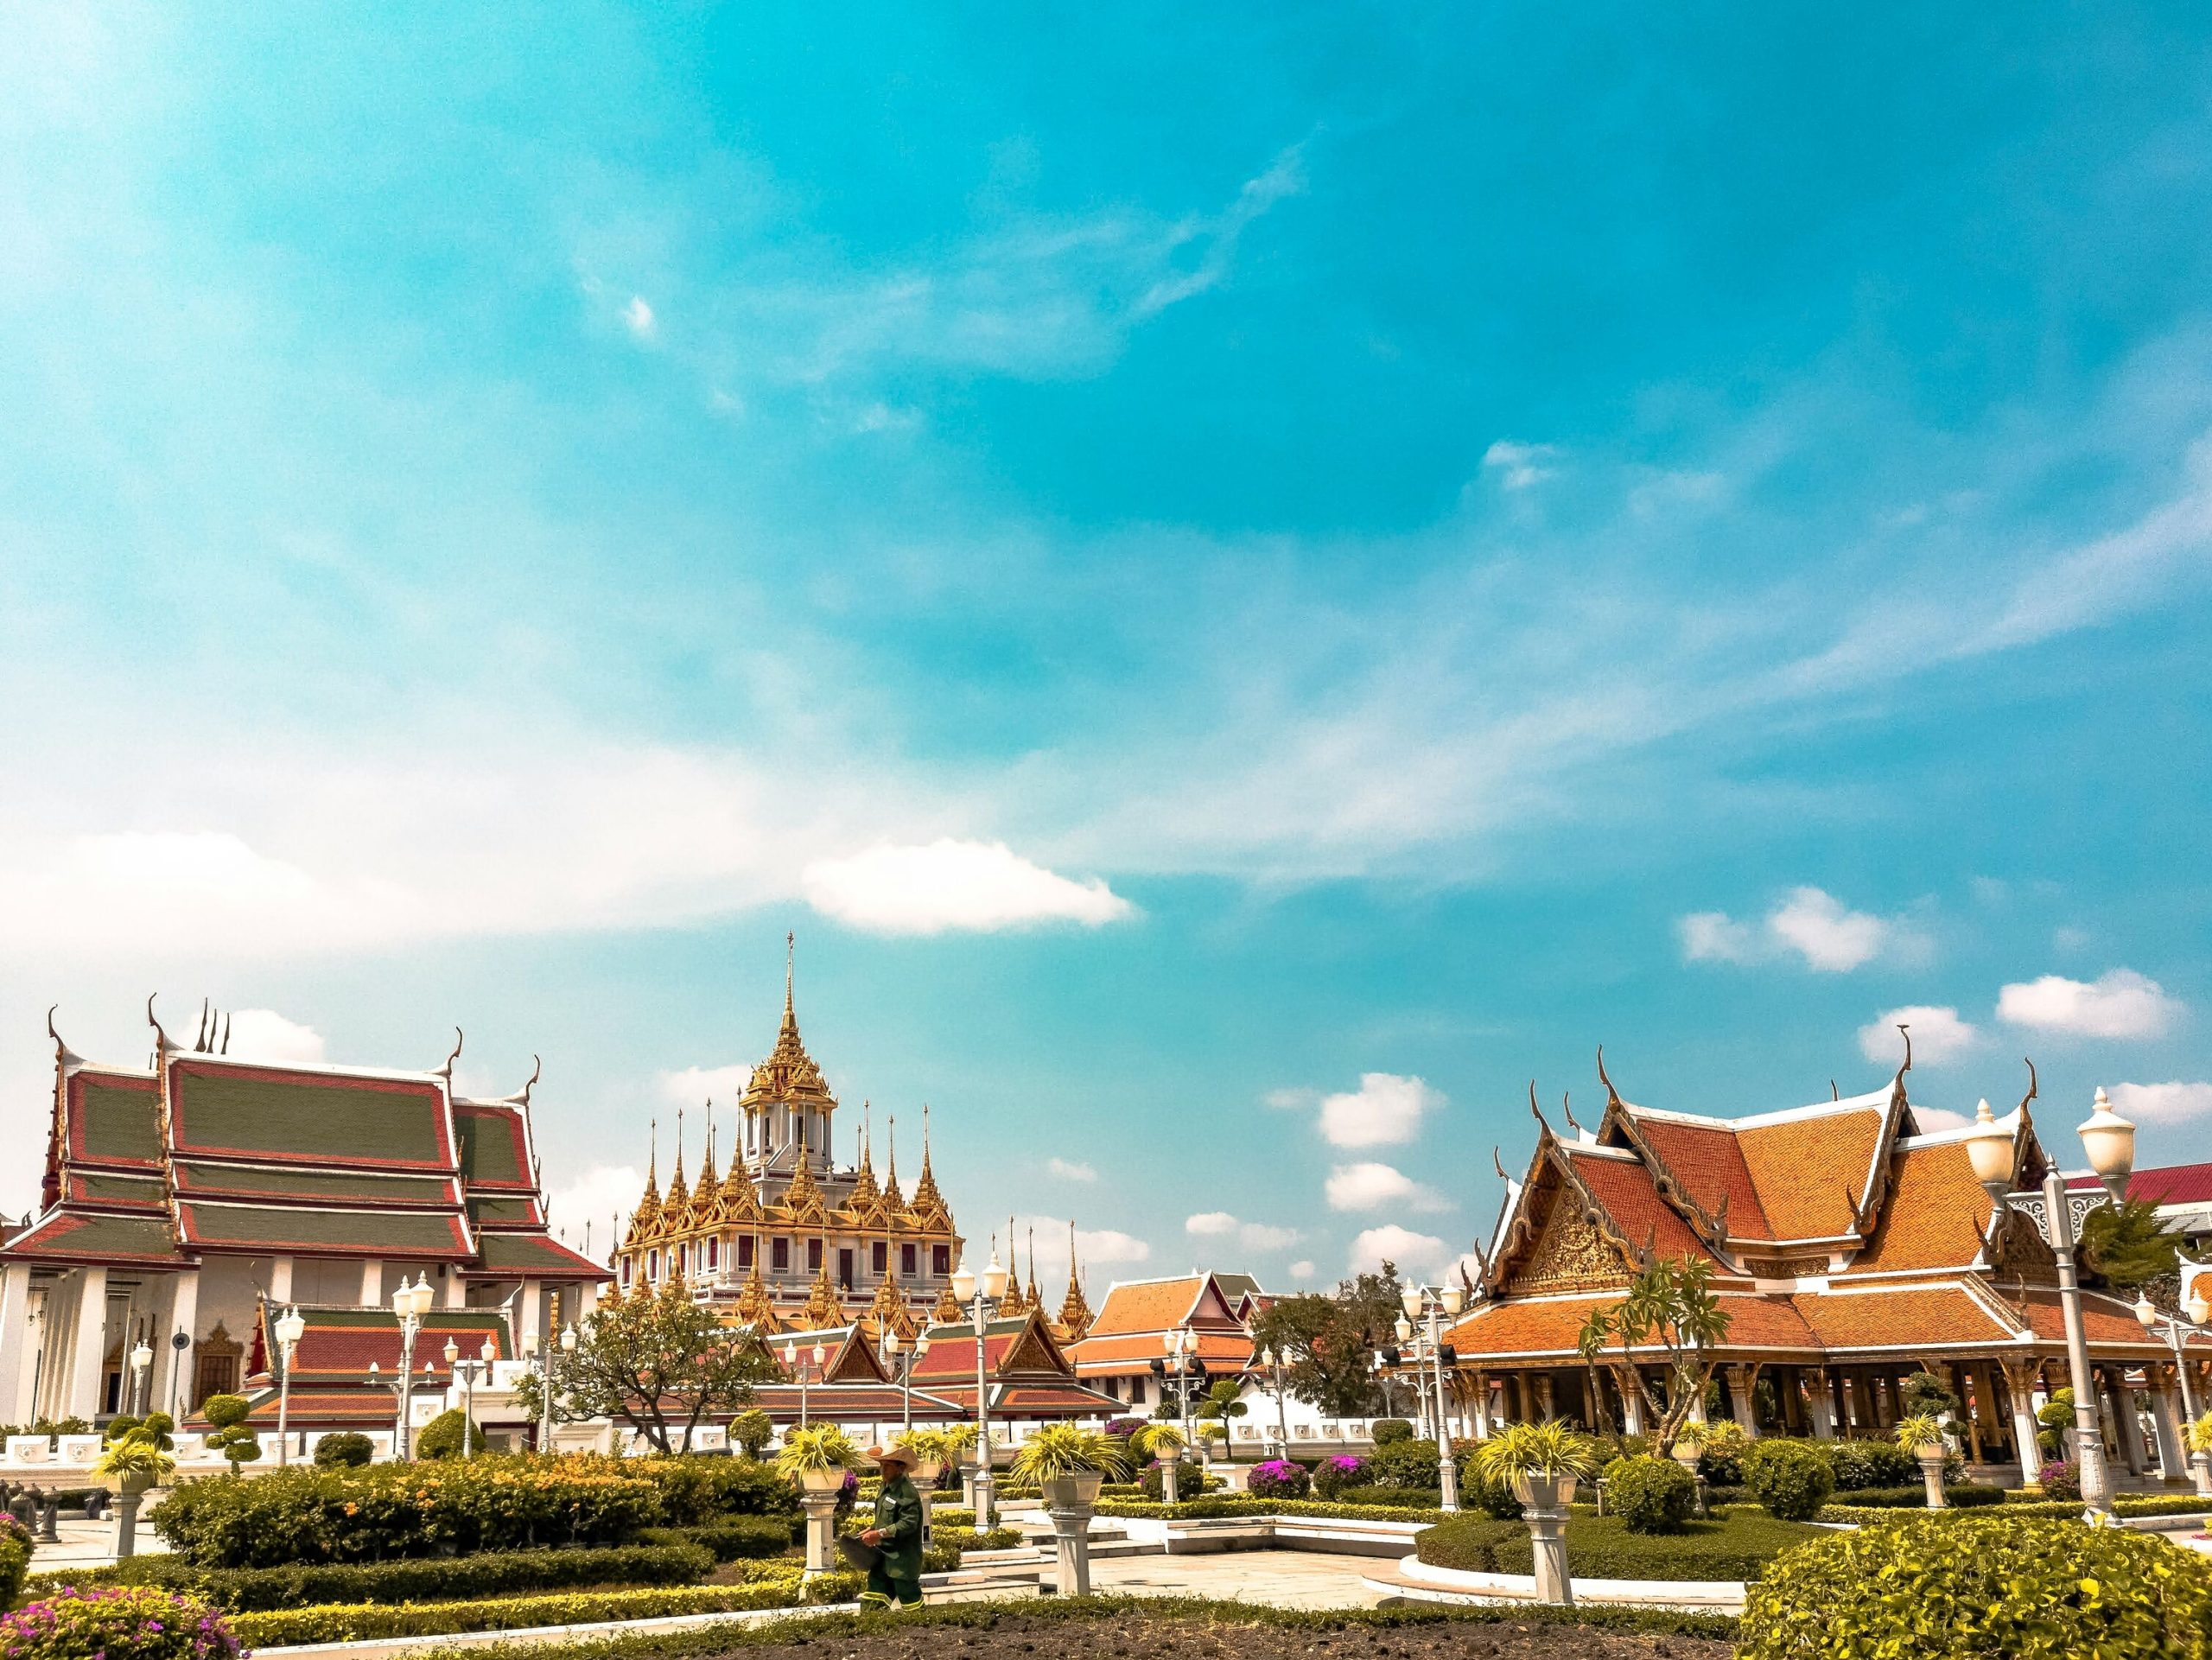
3. Attending a Major Indian Festival Outside Your Home State
Most Indians experience festivals only in their own hometown, in the way their own family celebrates. Diwali in Delhi, Diwali in Mumbai, Diwali in Chennai — they are genuinely different experiences, more different than most people expect until they have done it.
Go to Vrindavan for Holi. Go to Mysuru for Dasara. Go to Kolkata for Durga Puja. Go to Pushkar for the camel fair. Go to Hampi for the Vijayanagara festival. Go to any small town in Kerala for Onam and be adopted for lunch by a family you have never met.
My most memorable festival experience was Durga Puja in Kolkata — five days in October, staying in a tiny guesthouse in the Shyambazar area, walking between the enormous pandals at 2am with thousands of other people in their best clothes, eating rolls from stalls that appeared overnight and disappeared the same way, hearing the dhak drums from inside a pandal so large it had its own weather.
Kolkata during Durga Puja does something to you. The city becomes a different thing entirely. Go once in your life, ideally in your thirties when you have enough patience to let a city reveal itself slowly.
Indian budget tip: Durga Puja in Kolkata: Book accommodation 3-4 months in advance for October. Stay in the North Kolkata or Shyambazar area to be close to the oldest and most spectacular pandals. Budget Rs. 6,000-10,000 for 4 nights including stay and food.
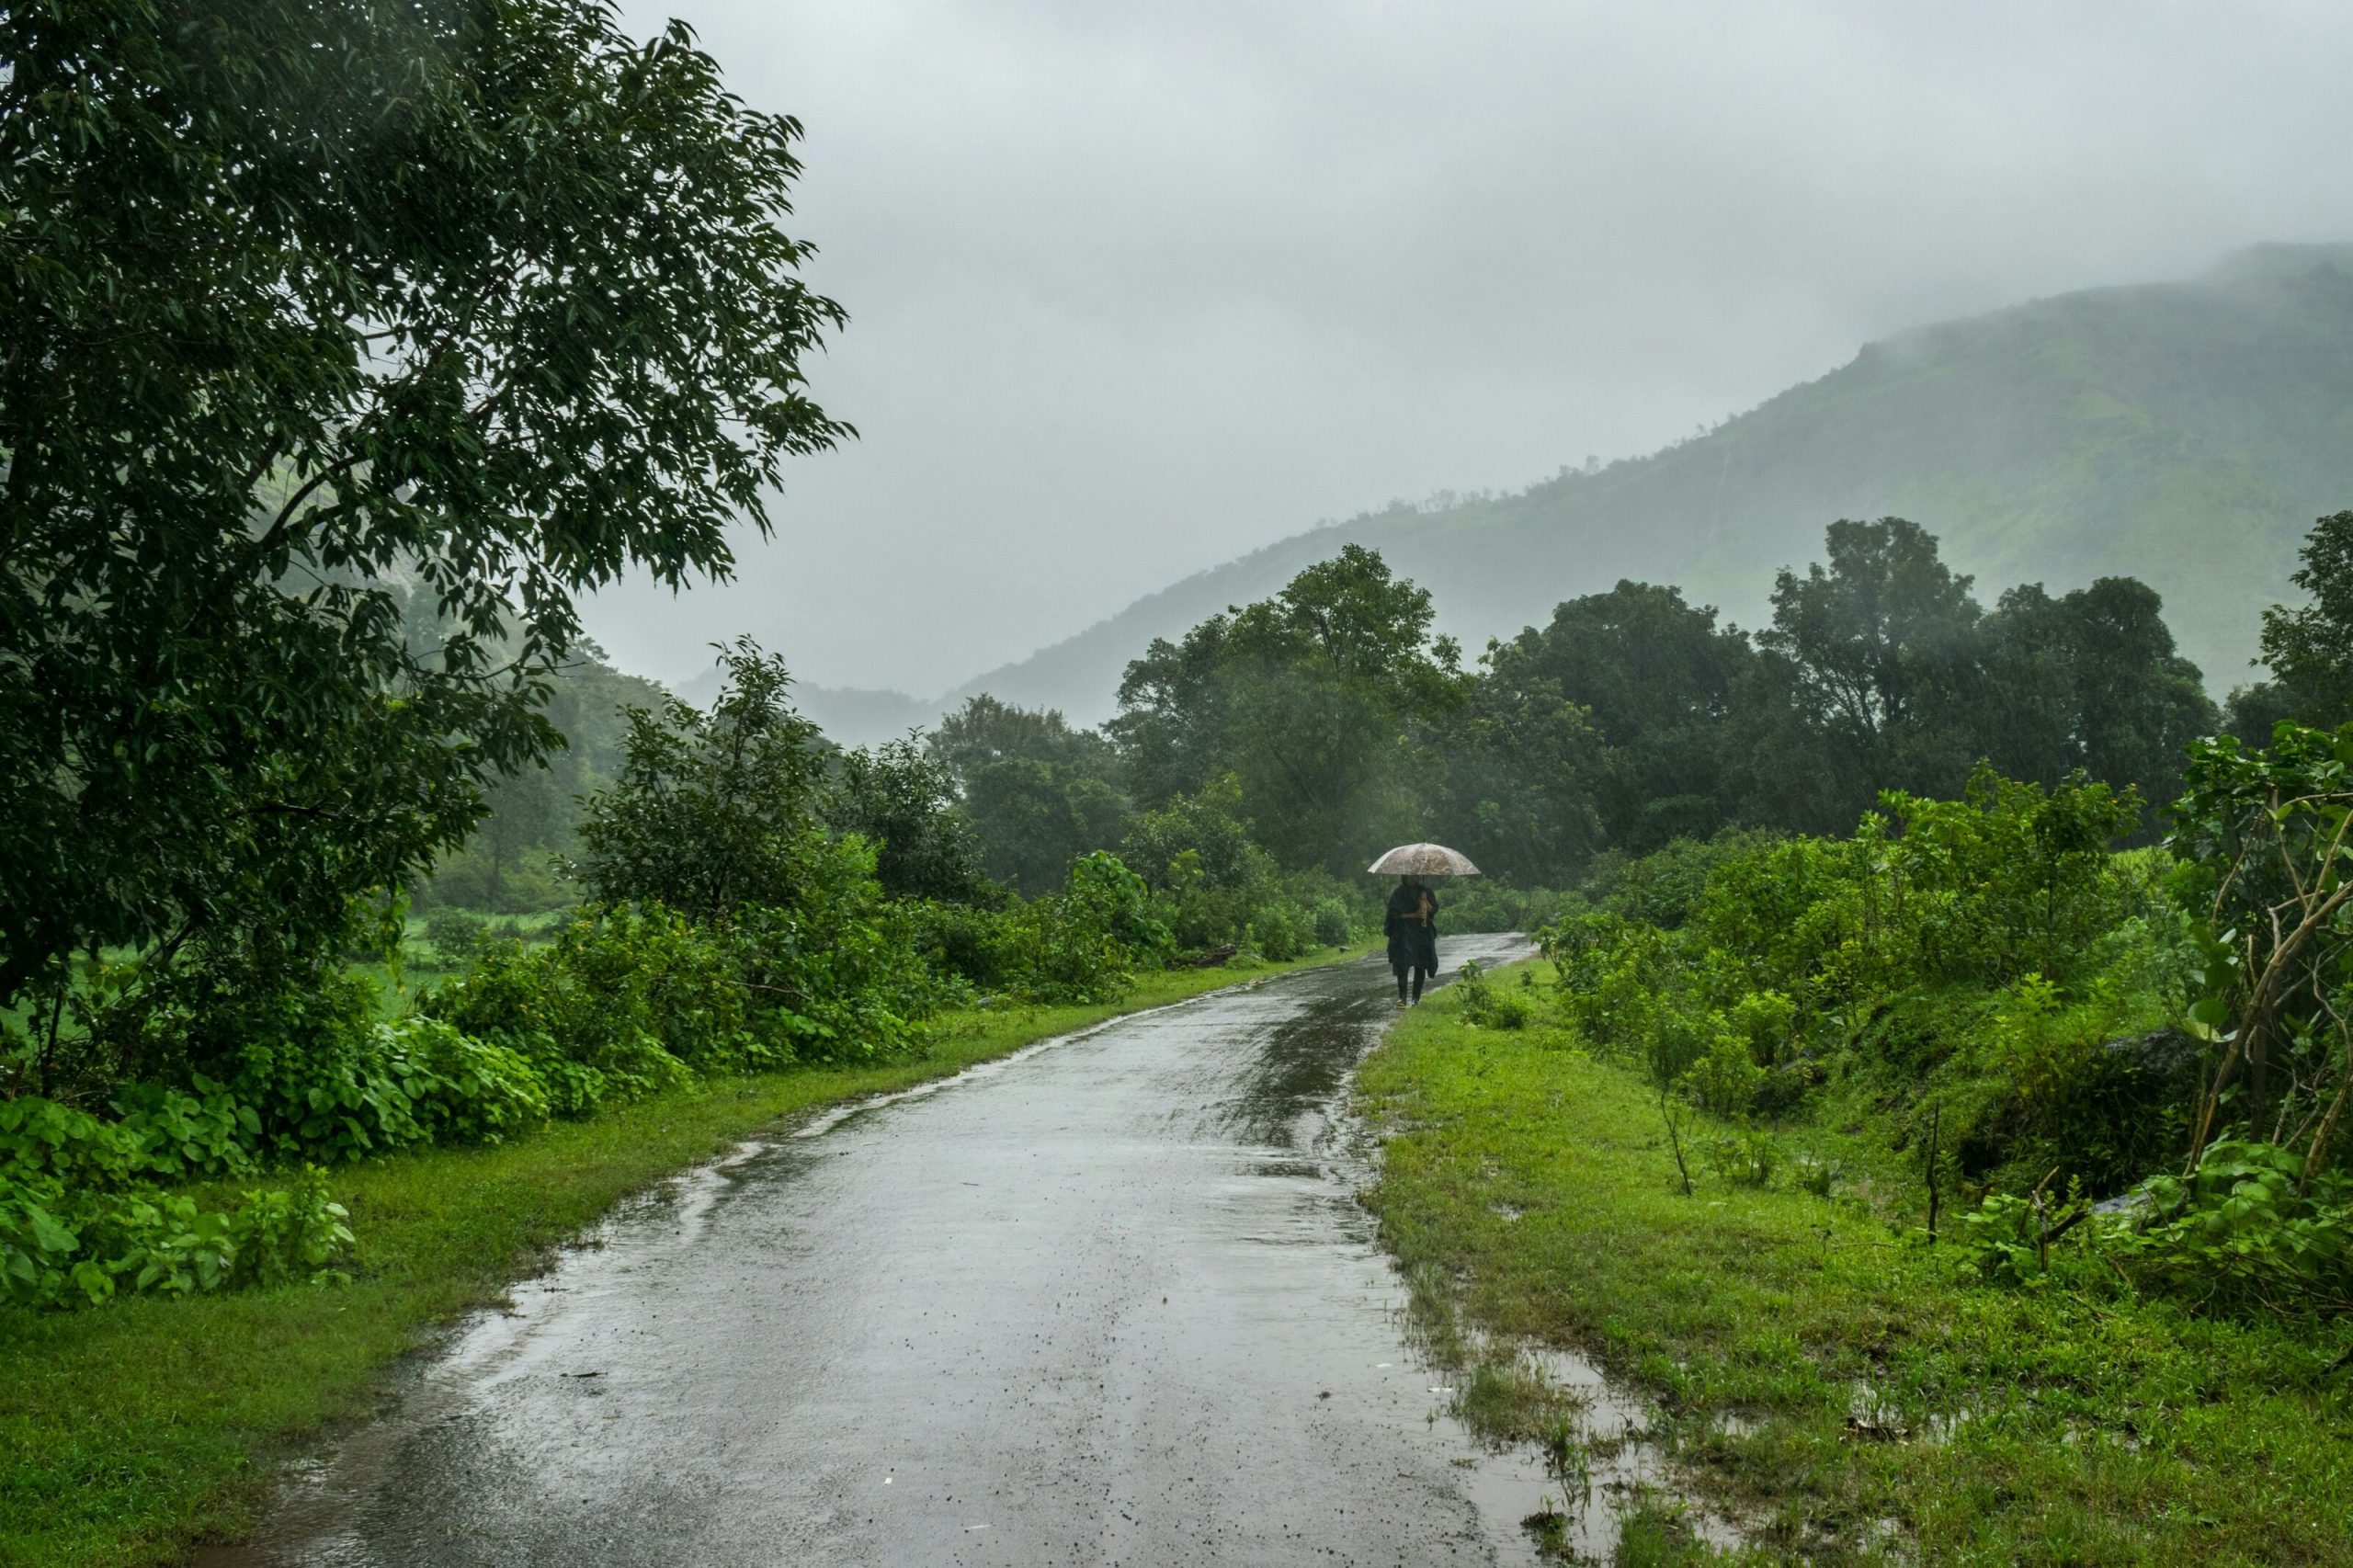
4. One Week of Slow Travel — No Itinerary, No Booking Ahead
This one requires you to set aside the part of your brain that needs a plan. Take a week of leave. Buy a train ticket to a town you have always been slightly curious about. Arrive. Find a guesthouse on foot. Spend the next seven days going where the day takes you.
I did this in Rajasthan — arrived in Bundi with no hotel booking, no checklist of things to see, no restaurant recommendations saved. I stayed in a rooftop guesthouse run by an old man who made the best chai I have ever had. I spent three days exploring the step wells and palace murals and doing essentially nothing by most standards. It was, inexplicably, one of the most satisfying weeks I have spent anywhere.
Slow travel teaches you that the pressure to constantly do and see is self-imposed. Most of the best things that happen when you travel happen because you were not in a hurry to be somewhere else. The conversation with a stranger at a chai stall. The alley you wandered into by accident. The sunset you caught because you missed your bus and had an extra hour.
Indian budget tip: Good slow travel destinations for Indians: Bundi in Rajasthan, Gokarna in Karnataka, Tawang in Arunachal Pradesh, Ziro Valley in Arunachal, Majuli island in Assam. All accessible by public transport, all rewarding for those who stay longer than the average tourist.
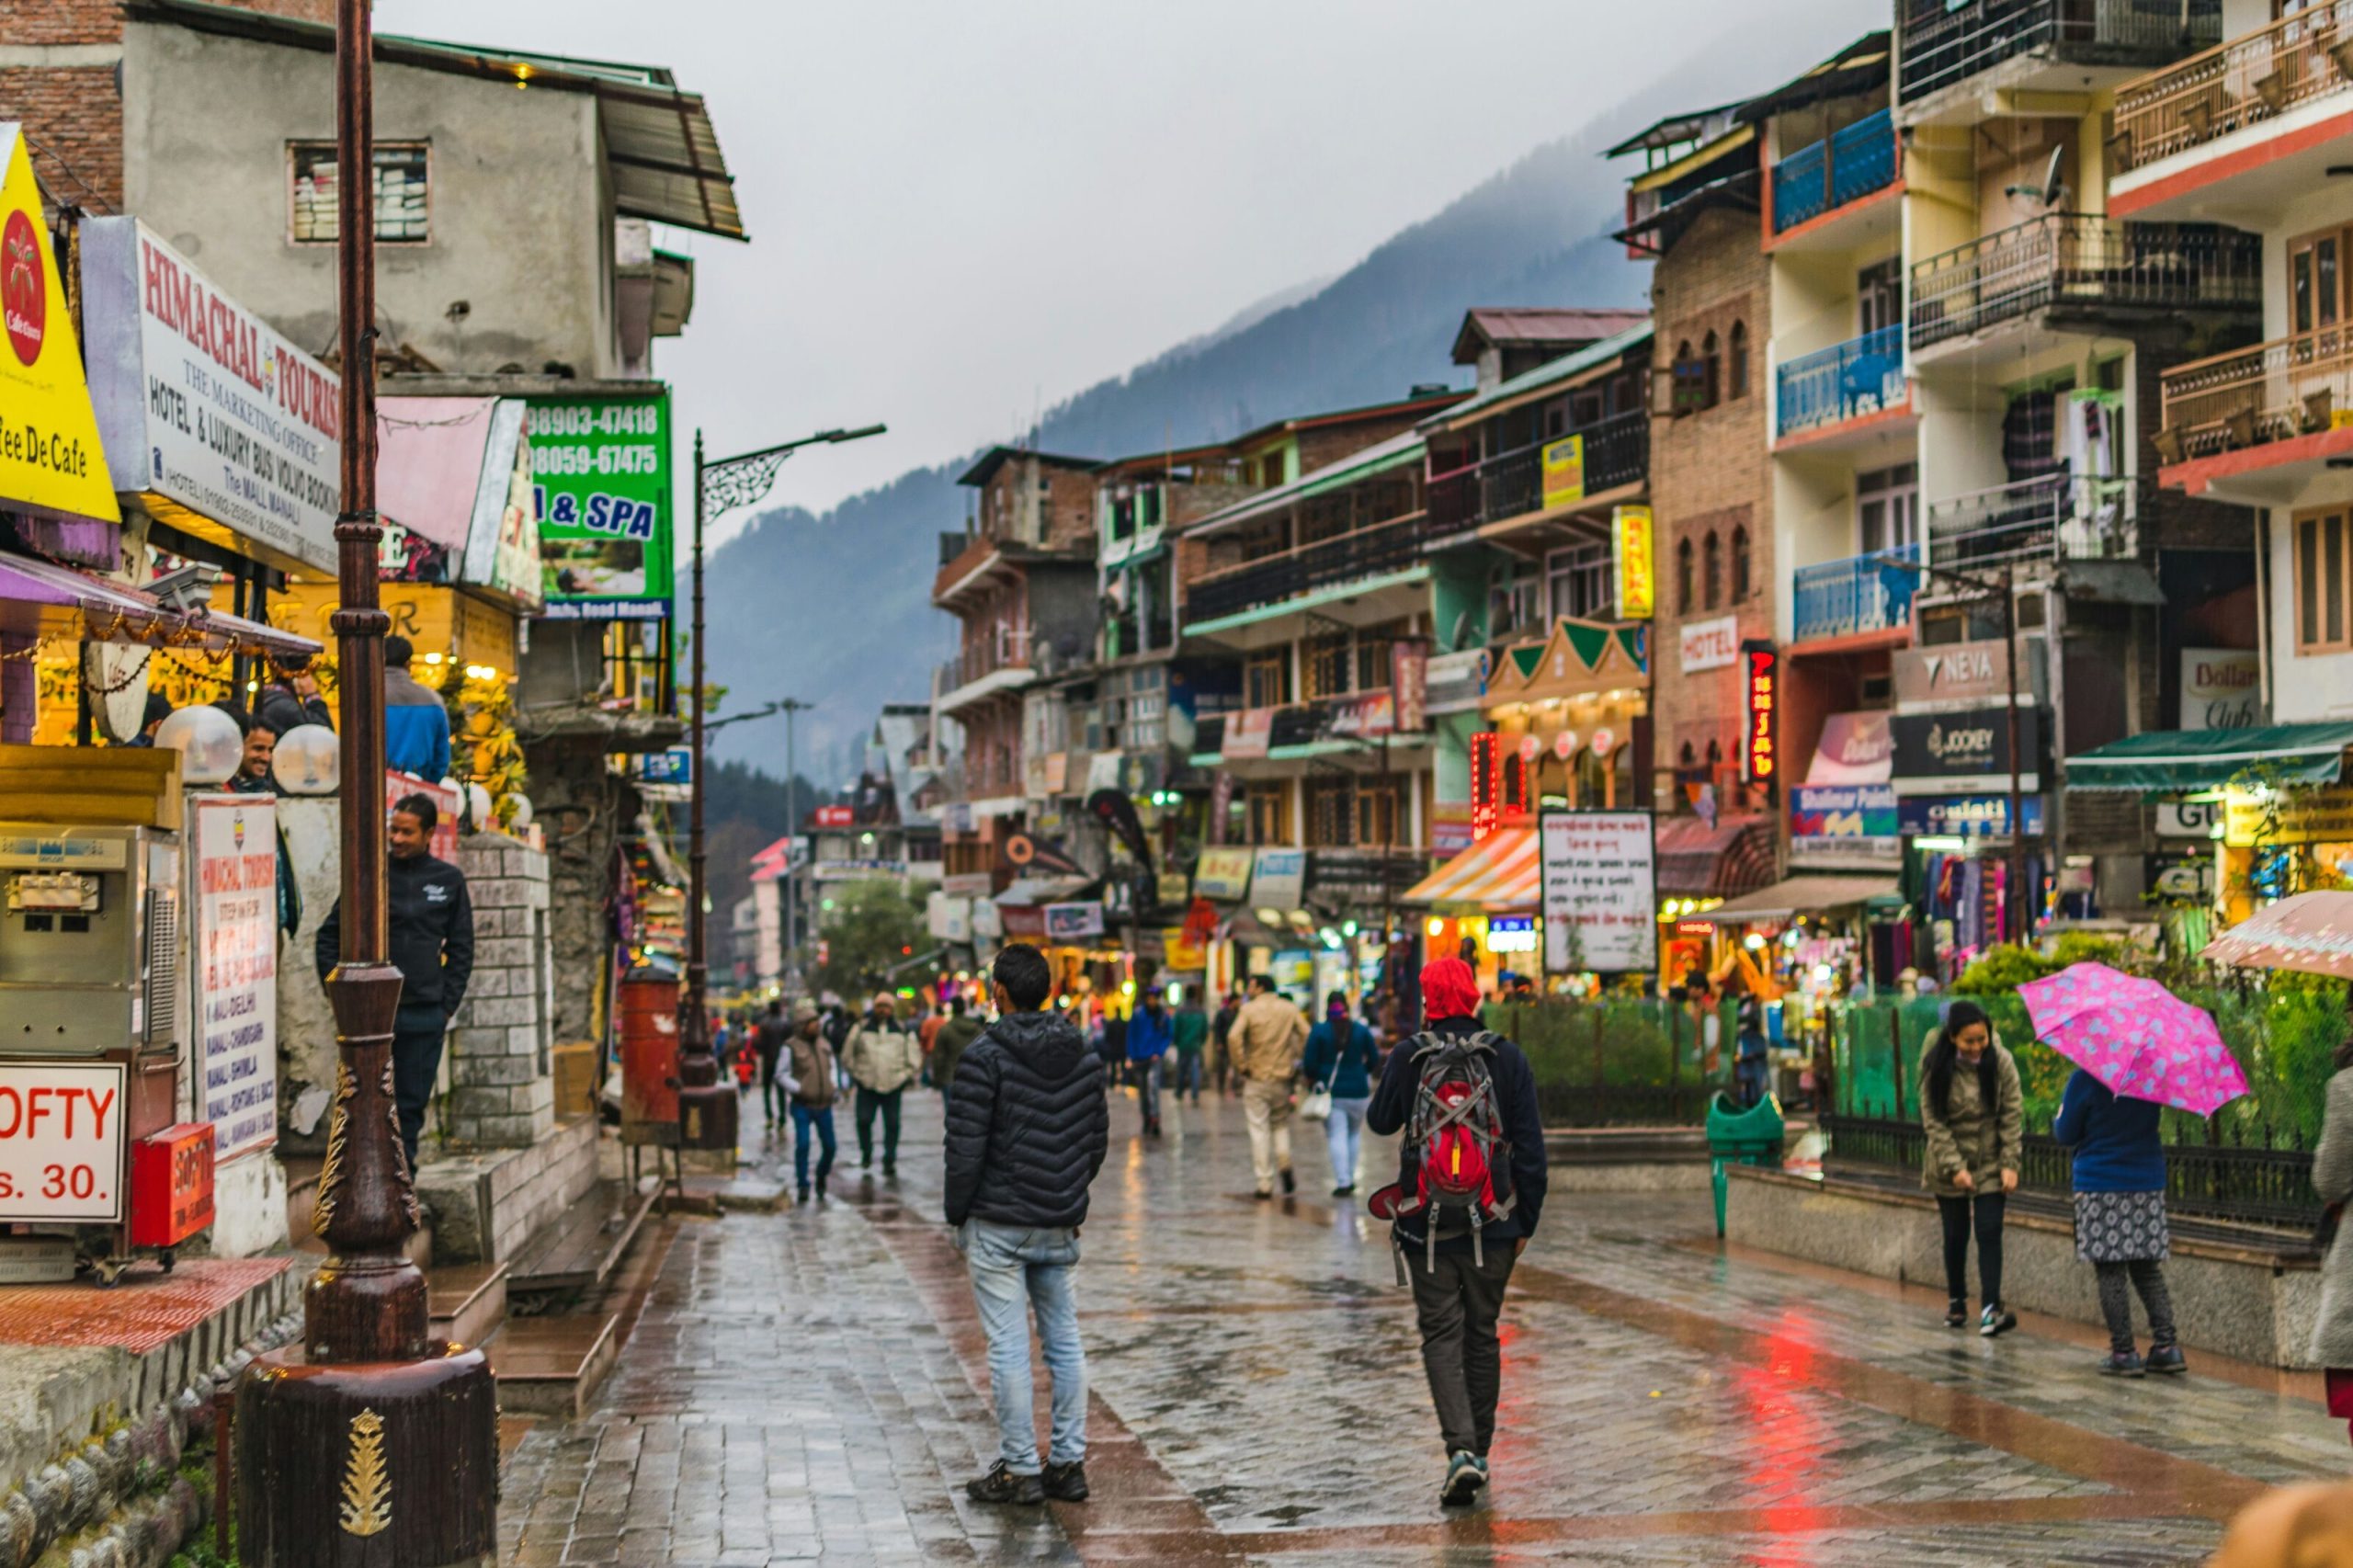
5. Crossing a State Whose Language You Do Not Speak
India is not one country in the way that outsiders imagine. It is many countries sharing a border and a constitution. A North Indian in Tamil Nadu, or a Tamil in rural Odisha, or a Maharashtrian in Nagaland, is genuinely in a foreign country in every experiential sense — different language, different food, different social customs, different relationship with time and hospitality.
I grew up in Mumbai and spoke Hindi and Marathi. The first time I went to Tamil Nadu alone — not to Chennai but into the interior, staying in small towns where almost nobody spoke Hindi — was humbling in the best possible way. I was suddenly the person who could not read the menu, who could not ask for directions, who had to use hands and expressions and the universal language of pointing. I was the outsider. It was instructive.
Every Indian should spend significant time in a state where their language is completely useless. It builds empathy, strips away assumptions, and reveals how extraordinarily diverse this country actually is beneath the surface of a shared national identity.
Indian budget tip: For North Indians: Spend at least a week in Tamil Nadu, Kerala, or Nagaland. For South Indians: Spend a week in Rajasthan or Himachal Pradesh’s rural areas. Do not stay at chain hotels — stay in locally run guesthouses where you are forced to navigate the local language.
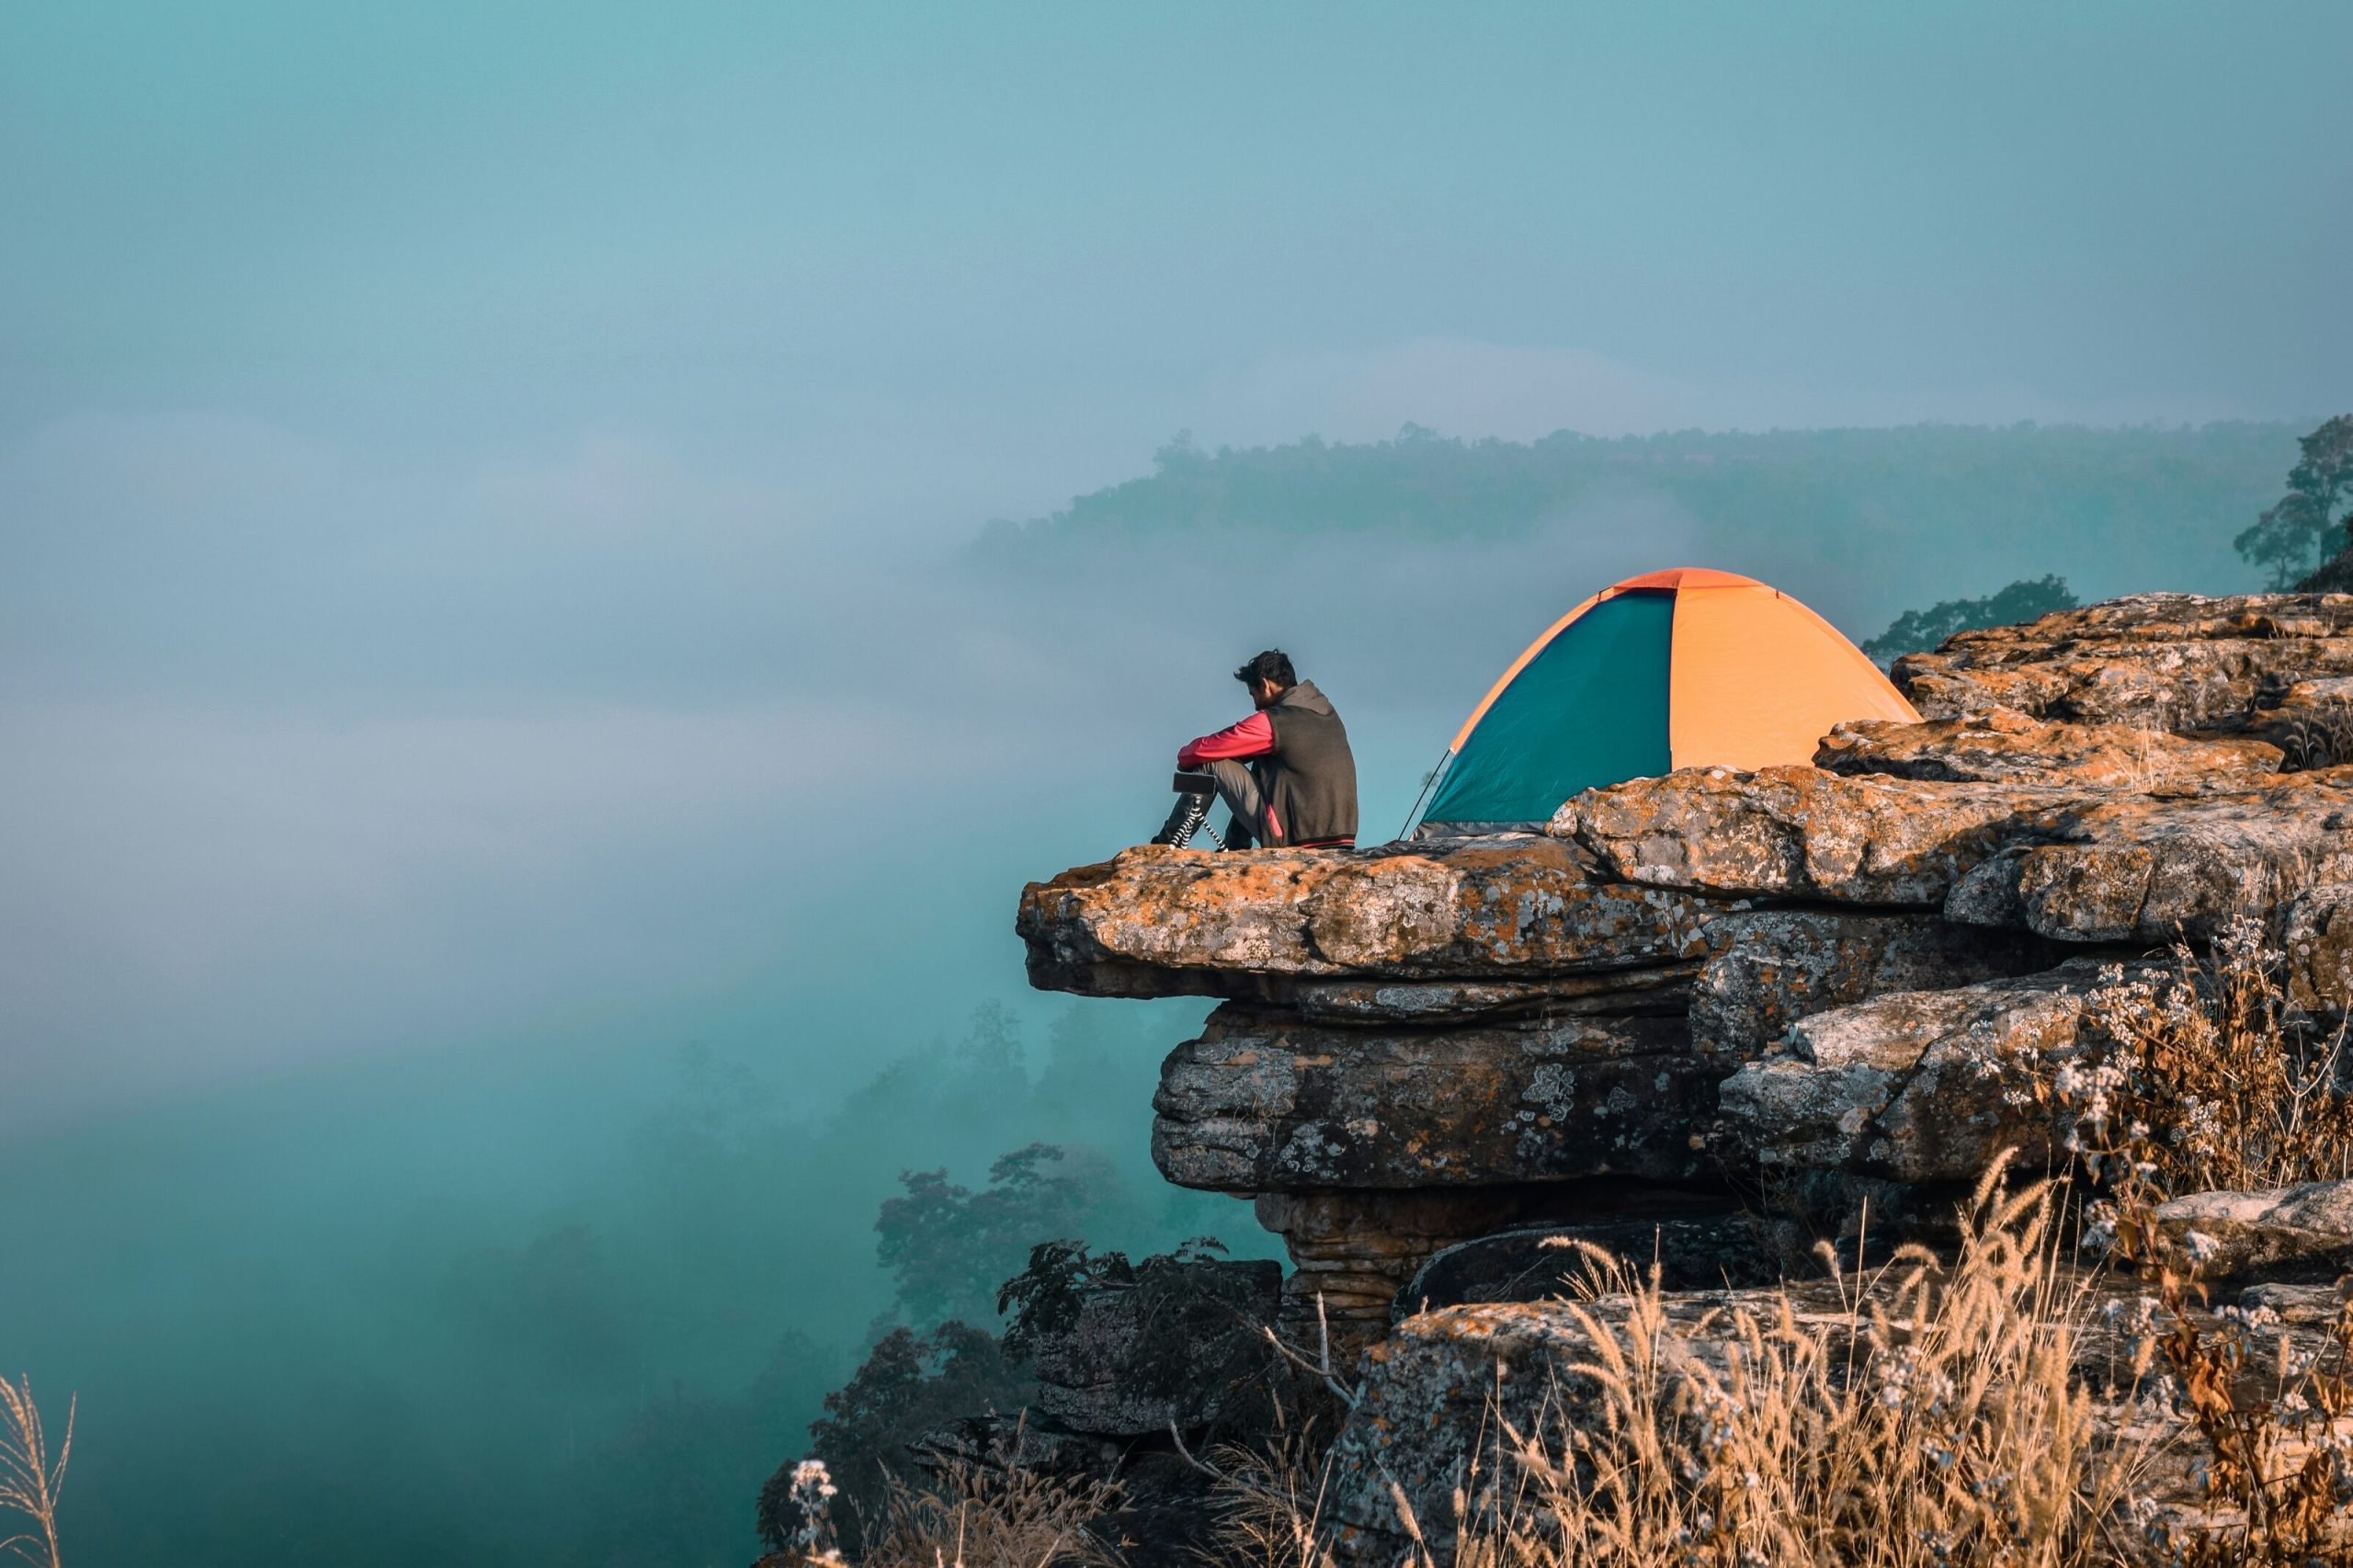
6. Camping Under an Actual Dark Sky
Most Indians who live in cities have never seen the Milky Way. Not because the Milky Way is not there — it is exactly where it has always been — but because light pollution has erased it from city skies so completely that many people do not know what they are missing.
Go to Spiti Valley in Himachal Pradesh, or to the Rann of Kutch in Gujarat, or to Ladakh’s Nubra Valley, or to any spot in the northeastern states sufficiently far from town — and look up on a clear night. What you see is the actual sky. The one human beings looked at for all of history until about 100 years ago. It is so different from what a city sky looks like that it takes several minutes for your brain to process it as real.
I lay on a sleeping bag in a field outside Kaza in Spiti at 11pm on a cloudless night in September. The stars were so dense they looked structural. I stayed outside until 2am because I could not stop looking up. I thought about all the people who had looked at that same sky from that same plateau across thousands of years and found some comfort in how long humans have been doing exactly what I was doing at that moment.
Indian budget tip: Best dark sky spots accessible to Indian travellers: Kaza, Spiti (Himachal Pradesh), Nubra Valley and Pangong area (Ladakh), Rann of Kutch (Gujarat, especially full moon night for the opposite effect), Ziro Valley (Arunachal Pradesh), Coorg on a clear monsoon night.
7. Eating Your Way Through One State With Intention
India has more regional food traditions than most countries have total cuisines. The gap between what a Bengali breakfast looks like and what a Coorgi breakfast looks like is wider than the gap between French and Spanish food. Most Indians know this abstractly but have never actually experienced it.
Pick one state — one you have never visited, or one you think you know well — and spend a week eating with intention. Not at tourist restaurants. At local dhabas, at market stalls, at the home of anyone kind enough to invite you. Try to understand the logic of the cuisine: what spices are dominant and why, what protein is traditional and why, what the breakfast culture is, what people eat at 10pm versus 1pm.
I spent a week in Odisha doing exactly this, not knowing much about Odia food before I went. I ate dalma (lentils with vegetables, very different from dal), pakhala (fermented rice water that turns out to be extraordinary on a hot afternoon), chhena poda (the original baked cottage cheese dessert, which the rest of India knows as a distant cousin through cheesecake), and so many preparations of fish that I lost count. I came back understanding Odisha in a way that three days of temple-visiting would not have given me.
Indian budget tip: States with the most underrated food traditions: Odisha, Chhattisgarh, Meghalaya, Manipur, Coorg (Kodagu district of Karnataka), and coastal Maharashtra outside Mumbai. None of these are well-represented in the restaurant culture of major Indian cities — the only way to eat them properly is to go there.
8. A Solo Trip — Just You
At some point before 40, go somewhere alone. Not with a partner, not with friends, not with family. Just you, a bag, and a destination.
Solo travel is uncomfortable in ways that are specifically useful. You cannot defer decisions to someone else. You cannot fill silence with familiar conversation. You are forced to engage with your surroundings in a way that group travel never requires, because there is no internal group to retreat into. You talk to strangers because the alternative is talking to nobody. You figure things out when they go wrong because there is nobody else to figure them out.
I took my first solo trip at 24 to Hampi — a bus from Bangalore, three days in the ruins, nobody I knew for hundreds of kilometres. I was lonely for about the first six hours. After that I was something else entirely — present, awake, curious in a way that felt different from how I normally moved through the world. I came back from that trip and started making decisions differently. I am not entirely sure why, but I am certain the trip was the reason.
Solo travel for Indian women deserves its own acknowledgment: it requires more planning, more caution about accommodation choices, and more assertiveness in managing uncomfortable situations. It is also, many Indian women travellers report, one of the most empowering things they have done. The challenge is part of what makes it matter.
Indian budget tip: First solo trips for Indian travellers: Hampi, Coorg, McLeod Ganj, and Pondicherry are all well-regarded as solo-friendly destinations with good guesthouse infrastructure, fellow solo travellers to meet, and manageable safety profiles for both men and women.
9. Spending a Night in a Village — Not a Boutique One
There is a version of village tourism in India that has become a boutique experience — curated homestays with Instagram-worthy decor, farm-to-table breakfasts, and artisanal pottery workshops. This is fine. It is also not what I mean.
I mean spending a night in an actual village, in the home of an actual family, eating what they eat. This happens when you are travelling in a rural area and there is no hotel, or when a local family offers hospitality because that is how their community operates, or when you are on a trek and the teahouse is somebody’s kitchen with a mat on the floor.
I spent a night in a village outside Ziro in Arunachal Pradesh, in the home of an Apatani family I had met through a local guide. The grandmother spoke no Hindi or English. We communicated through gestures and the universal language of food being placed in front of someone. They gave me a mat and a blanket in a corner of the main room. In the morning the grandmother pressed two boiled eggs into my hand before I left.
That gesture — the eggs, the insistence, the warmth from someone with whom I shared no language — is the clearest memory I have from three weeks of travel in the northeast. Village hospitality in India is not a tourism product. It is a cultural reflex. Experiencing it changes how you think about generosity.
10. Going Somewhere That Challenges What You Think You Know
This last one is intentionally left open, because only you know what challenges you. But let me give you a framework.
Think of a region of India you have dismissed, feared, or simply never considered. For many Indians, this is the northeast — seven states that most people from the western and southern parts of the country know almost nothing about. For others it is the border areas of Rajasthan that are not Jaisalmer. For others it is the Andaman Islands, which most people think of as a beach destination but are also a place of extraordinary and sobering history.
Go somewhere that requires you to update your assumptions. Somewhere whose people, landscape, or history will sit with you afterwards. The Cellular Jail in Port Blair. The partition museum in Amritsar. The abandoned village of Kuldhara near Jaisalmer, which was left overnight by its entire population in 1825 for reasons that historians still debate. The living root bridges of Meghalaya, which are not a tourism product but a 500-year-old piece of Khasi engineering that is only now being noticed by the outside world.
Travel is at its best when it leaves a residue. When you carry something back that was not there when you left. It does not require going far. It requires going somewhere with an open mind and enough time to let the place work on you.
Before You Go
The most common reason people do not take the trips they mean to take is that they keep waiting for the right time. The right time is now, or it is next month, or it is after this project at work is finished — and then it is after the next one. Trips do not happen because the timing becomes perfect. They happen because someone decides that imperfect timing is better than no trip at all.
You do not need a large budget. The most meaningful trips on this list cost almost nothing by the standards of what people spend on weekend hotel stays in popular hill stations. You need leave, a train booking, and the willingness to be somewhere unfamiliar for a while.
That willingness is the whole thing. Everything else follows from it.
FAQ
Which of these experiences is best for a first-time solo traveller in India?
Start with a long solo train journey — it is the gentlest introduction to solo travel because you are in a structured, contained environment with other people around you. Overnight train journeys to Rajasthan or Himachal Pradesh are ideal starting points.
What is the best high-altitude trek for someone with no trekking experience?
Triund above McLeod Ganj in Himachal Pradesh is widely considered the best introduction trek in India. It is 9 km one way, reaches 2,842 metres, does not require a guide or permit, and takes 3 to 4 hours at a comfortable pace. Kedarnath is the next step up.
Is solo travel in India safe for women?
Yes, with proper preparation. Research your accommodation before booking, stay in guesthouses with good recent reviews from women travellers, share your itinerary with someone at home, trust your instincts about situations and people, and carry a local SIM with data for navigation. Destinations like Pondicherry, Hampi, McLeod Ganj, and Coorg are widely regarded as safe and well-suited for solo women travellers.
How much leave do I need for these experiences?
Most of these require 4 to 7 days of leave. Long train journeys can be done over a long weekend if you use Friday night and Sunday night trains. High-altitude treks need at least 4 days minimum (2 days up, 1 at the top, 1 down) and ideally 6 to allow for acclimatisation. Festival travel requires booking 3 to 4 months in advance due to accommodation demand.
What is the most budget-friendly experience on this list?
A long train journey is the most accessible — sleeper class on overnight trains costs Rs. 200 to 600, and the experience itself costs nothing beyond the ticket, food, and wherever you are going. Camping under dark skies in Spiti or the Rann of Kutch is the runner-up if you already have or can borrow basic camping gear.